Simple Dirt Test Activities for Homeschooling Science At Home
- 2 hours ago
- 3 min read
Exploring the natural world is one of the best ways to spark curiosity in your homeschool and with this activity children get to learn all about the importance of healthy soil as we take science into the garden with simple experiments you can do at home.
Disclaimer: Cultivate Simple Delights is a part of the Amazon Affiliate Program and receives a small commission at no extra cost to you for each purchase through our links.

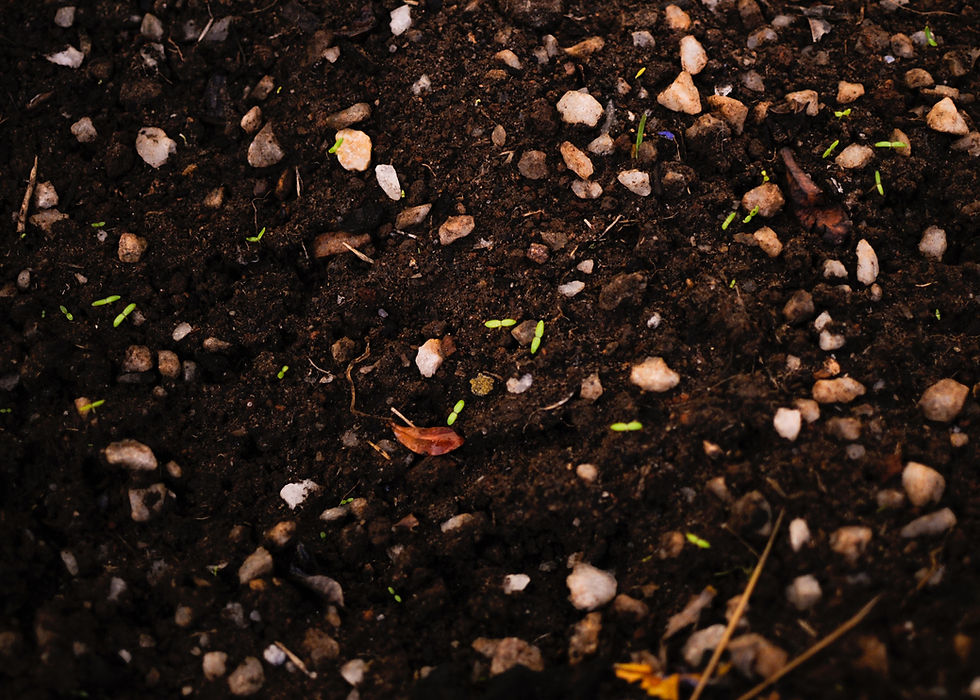
Dirt, often overlooked, holds a world of information waiting to be discovered.
For homeschoolers, simple dirt test activities offer hands-on science lessons that are easy to set up and full of learning opportunities.
These tests help children understand soil properties, the environment, and the basics of scientific observation.

Why Dirt Tests Matter for Young Scientists?
Soil is more than just dirt beneath our feet.
It supports plant life, houses tiny creatures, and affects water flow.
By testing soil, children learn about texture, composition, and how soil supports a variety of ecosystems all around us.
These activities encourage critical thinking and observation skills, which are essential for upcoming scientists.

Basic Dirt Test Activities to Try at Home With Kids
Here are some easy dirt tests that homeschoolers can do any time of the year with common household items:
1. The Soil Texture Test
This test helps identify different types of soil like sand, silt, and clay:
Collect a small amount of soil from different spots in your yard or garden.
Place the soil in a clear jar and add water until the jar is about two-thirds full.
Shake the jar vigorously and then let it sit for 24 hours.
Observe the layers that form: sand settles at the bottom, silt in the middle, and clay on top.
Discuss which soil type is most common and what that means for plants.

2. A Soil pH Test
Soil pH affects plant growth and nutrient availability, so it's important to know the acidity level of your soil if you want to grow healthy plants.
Use a simple pH test kit available at garden centers or online.
Collect soil samples and mix with distilled water to create a muddy solution.
Dip the pH strip into the solution and compare the color change to the chart.
Record the pH levels and talk about which plants prefer acidic or alkaline soils.

3. A Soil Moisture Test
Understanding soil moisture helps explain how plants get water making this an easy experiment to do to explain concepts like water drainage.
Take a handful of soil and squeeze it tightly.
If water drips out, the soil is very wet.
If the soil holds shape but doesn’t drip, it’s moist.
If it crumbles easily, the soil is dry.
Try this test with soil from different areas and compare results.

Encouraging Observation and Recording
After each test, encourage your child to write down their observations or draw pictures of what they see this helps create a better connection to the lessons learned.
This practice also builds scientific habits like careful observation and note taking.
Also ask questions such as:
How does the soil feel?
What colors do you notice?
What differences do you see between samples?
Learning All About Soil Health At Home
Once the basic soil tests are done you can try out these ideas to deepen understanding of healthy soil even more:
Plant seeds in different soil types and observe growth.
Look for insects or worms in the soil and discuss their role.
Compare soil from your yard with soil from a park or forest.
These activities help connect science to everyday life and shows students how soil impacts the environment making it a fun way to learn all about soil health at home.
Continue learning in the garden with our Junior Master Gardener Workbook filled with 170 pages of beginner gardening lessons, writing prompts, experiments, and coloring pages for bringing science to life in the garden.


Comments