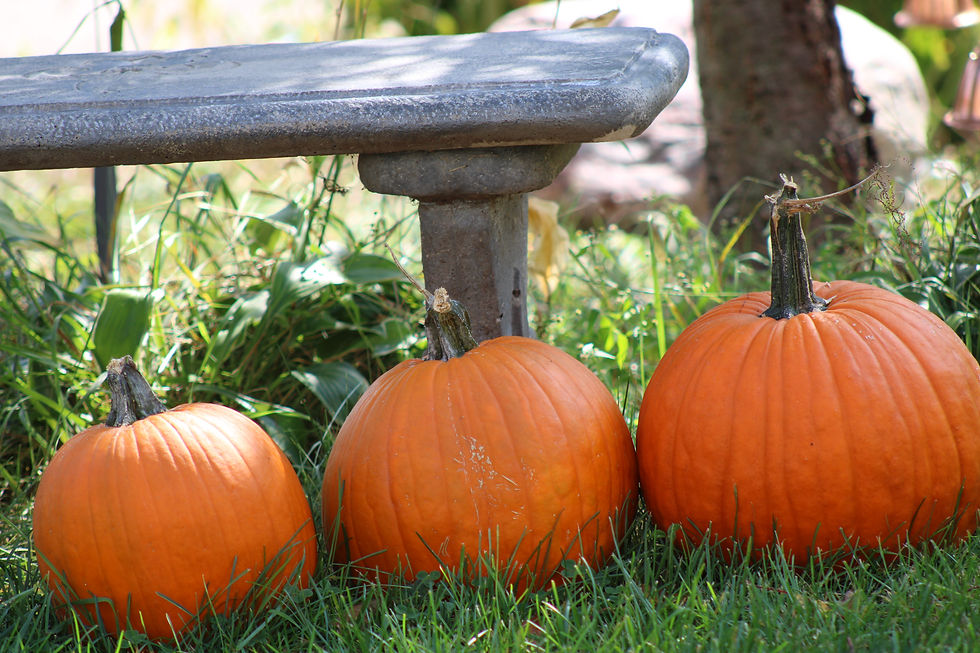
Embrace Fall with Your Own Patch With Simple Steps to Grow Homegrown Pumpkins
- Cultivate Simple Delights

- Jul 23, 2025
- 3 min read
Updated: Sep 16, 2025
Pumpkins are a central theme of the season and there’s something special about growing your own pumpkins in your backyard garden.
Disclaimer: Cultivate Simple Delights is part of Amazon Affiliate Program and receives a small commission at no extra cost to you when you purchase items through our links.

It's not only a rewarding experience that provides delicious treats, but they can also be used as beautiful decorations for your home giving you that classic Fall look.
Whether you plan to bake pies or create captivating Fall displays, starting your own pumpkin patch is a fantastic and fulfilling project to do in your garden.

How To Select The Right Type of Pumpkin To Grow
Choosing the right pumpkin variety is crucial for achieving your goals.
If you’re aiming for delicious pies ‘Sugar Pie’ pumpkins are a great option because they are smaller, sweeter, and perfect for baking.
On the other hand, if you want a show stopper, consider the ‘Atlantic Giant’ variety, which can reach weights of over 1,000 pounds.
The classic ‘Jack-O’-Lantern’ variety is great for carving and ‘Little Pumpkin’ seeds are perfect for smaller spaces.
Be sure to research the characteristics of different types to pick the pumpkin variety that best suits your needs!

How To Prepare A Pumpkin Patch
Pumpkins flourish in well drained loamy soil that is rich in organic matter.
Choose a sunny location that receives at least six hours of sunlight a day.
Begin by clearing the area of weeds, rocks, and any debris that could hinder growth.
Amend the soil with compost or well rotted manure to boost its nutrient levels.
For best results, aim for a soil pH between 6.0 and 7.5, as pumpkins prefer slightly acidic to neutral soil.

Sowing Pumpkin Seeds
Once your patch is prepared, it's time to get planting!
In most climates, you can sow seeds directly into the ground after the last frost, typically around late Spring and Summer.
Plant seeds one inch deep, spaced about three feet apart to give them room to sprawl.
If you prefer to start indoors, use biodegradable pots and transplant the seedlings outdoors after they are four weeks old, ensuring you minimize transplant shock.

How To Water and Care Pumpkins
Pumpkin plants are heavy drinkers.
Water them thoroughly once a week, especially during dry spells.
The soil should remain consistently moist, but avoid waterlogging, which can lead to rot.
Regularly check for moisture levels, especially during hot weather.
Additionally, add a balanced fertilizer applied every few weeks to enhance the plants' growth.
Think about using a fertilizer with an NPK ratio of 5-10-10 to encourage good fruit production.

Managing Pumpkin Pests and Diseases
Pumpkin patches can attract pests, so vigilance is key.
Watch for common culprits such as aphids, squash bugs, and cucumber beetles.
Use natural pest control methods like neem oil or insecticidal soap to mitigate these issues.
Be sure to create good airflow around your plants and avoid watering the leaves to help prevent fungal diseases.

When To Harvest Pumpkins
As the season progresses, keep an eye on your pumpkins.
They are ready for harvest when they turn a deep orange color and their rinds feel hard to the touch.
Carefully cut the stems, leaving about a few inches attached to the pumpkins; this helps them stay fresh longer.
If harvested correctly, pumpkins can last up to three months in cool, dry conditions.

Celebrate the Season with Homegrown Pumpkins
Growing your own pumpkins enhances your Fall experience and creates more joy in the garden by learning how to grow with the season.
With patience and care, you can cultivate a stunning pumpkin patch that serves both functional and decorative purposes.
Roll up your sleeves, dig in, and be ready to showcase your homegrown pumpkins this Fall!
Now READ:


Comments